

Table of Contents
- Let’s learn how to stop before getting on a lift
- It is helpful to have someone support you when you stand up on the board
- Once you get comfortable with this, try the reverse by braking with the front side!
- It’s only scary the first time. It gets easy once you get the hang of it!
- Where is a good place to practice?
- You’ve mastered the basics if you can stop as you wish!
Let’s learn how to stop before getting on a lift

Before you jump on the lifts, it is necessary to practice how to stop.
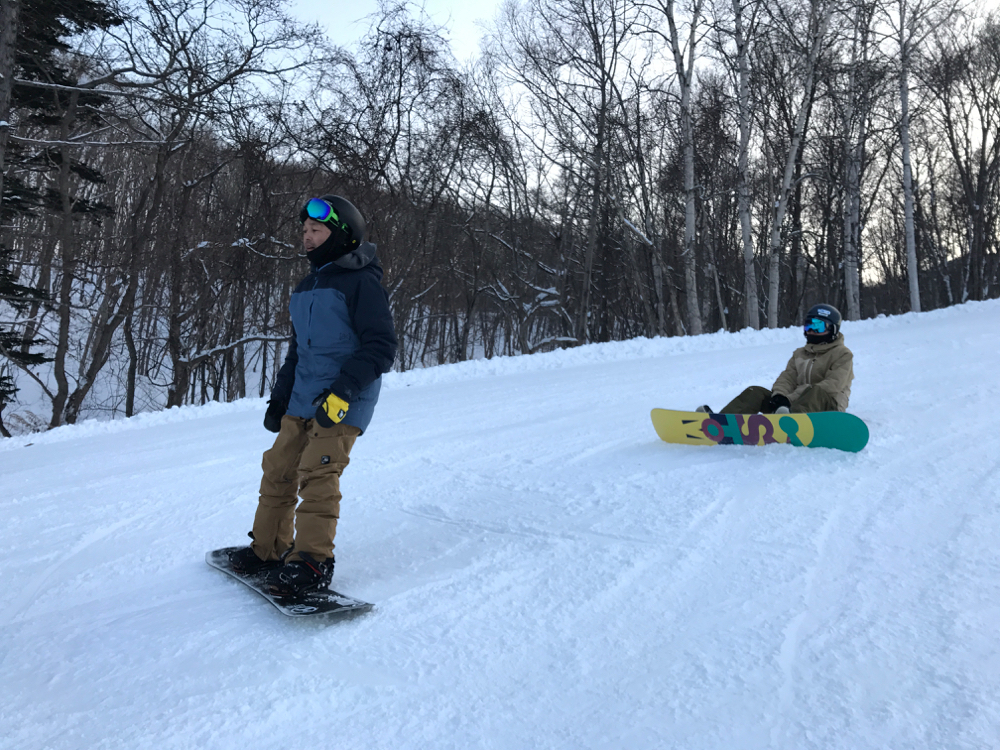
When you’re standing on a snowboard, there are 2 directions you must consider. One is the backside (heel-side), and the other is the frontside facing the direction of your toes.
First, let’s learn how to stop using the heel-side edge while sliding with the backside as you look down the slope.
There are 2 points to consider here: these are the two points from the previous lesson, which are keeping your body relaxed, and looking in the direction you want to go.
Since the direction you want to go when slipping sideways is the downward direction of the overall slope, picking a distant point lower on the slope steadies your view. (The direction the finger is pointing in the photo is the direction on which to focus your line of sight)
It is helpful to have someone support you when you stand up on the board

Since practicing this lesson is a bit difficult on your own, it’s a good idea to have someone with at least some experience help you.
When you have someone help support you, their position when you stand up on the board is quite important.
When practicing side slipping, it is crucial that the person supporting you should always be behind you. If he or she is in front of you, there is a risk of them falling down backwards down the slope.
Slowly lowering the toes of both feet toward the slope will cause the board to start sliding. Raising your toes at the desired timing will allow you to stop the board.
Once you get comfortable with this, try the reverse by braking with the front side!

The backside (heel-side) is important for braking. However, we also need to practice using the frontside. Why is it more difficult using the frontside?
This is because, as shown in the photo, you must focus your line of sight looking up the slope. Since you must lean your body towards the slope while sliding, it is quite a scary move to practice the first time.
It was mentioned earlier that your line of sight is the steering wheel of the snowboard, however this lesson is an exception to that rule. Without looking down at your feet, look up at the slope. If you can find the courage to practice this, you will become proficient faster.
It’s only scary the first time. It gets easy once you get the hang of it!

Stand up with your toes, and practice slowly bringing both heels close to the snow surface.
This may appear scary at first, but since it’s similar to a certain exercise you do in everyday living, it’s quite easy when you get the hang of it. What do you think that is? It’s standing on tiptoes to grab an object from a high location.
If you practice this slowly while imagining that, it’s only a matter of time until you master using the frontside edge to stop.
Where is a good place to practice?

This is the final stage for practicing side slipping. Spending roughly 70% of your time practicing backside sliding and 30% practicing frontside sliding will give you the basics. The reason for this is that opportunities to stop using backside sliding far outweigh those for stopping with frontside sliding.
Even so, snowboarding for the first time is still a scary experience. It’s for that reason that it’s recommended to use slopes that are as flat as possible for practicing the first time. Also, choose gentle slopes that make practicing easier when teaching your friends.
You’ve mastered the basics if you can stop as you wish!
Stopping is the most important basic technique, so it’s necessary to keep practicing repeatedly so the body learns the motions instinctively. Practicing frontside sliding is quite scary at first, but if you are prepared to fall down and practice slowly, you will do fine.
Once you’ve learned braking, you’ve essentially acquired 80% of the basics, so stick with it! The next and final Part 3 will cover making consecutive turns. Be sure to stay with us to the end!
Pricing information and schedule may not be up to date and are subject to change without notice. Please check before your trip.